
I don't intend for this to be a "how to make" post. I just wanted to show what and how I made it so maybe it helps someone out a little. Or if anyone for whatever reason wants proof I made it, well here it is..
This was the first cosplay I've made entirely by myself with no help. I'm pretty excited about it and it's made me feel much more confident when it comes to sewing.

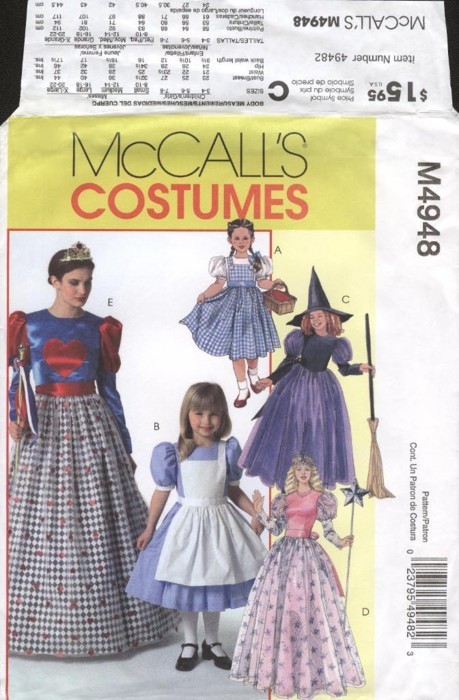
My reference if anyone doesn't know who I'm creating. Alice from American Mcgee's Alice Madness Returns wonderland dress.
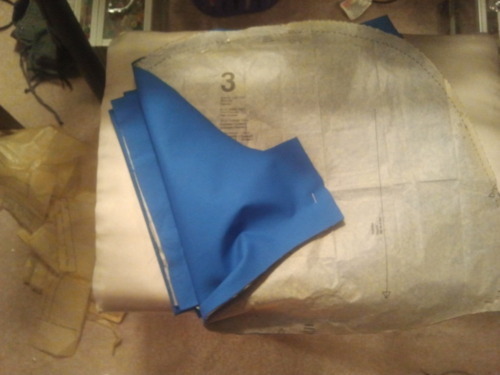
Anyway to start I made this dress using a modified McCalls M4948 pattern.
Simple enough
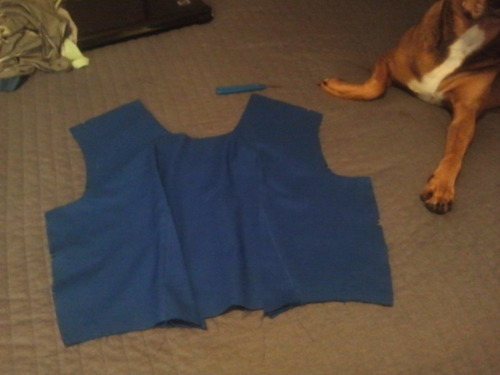
My dog is helping sew of course. And by helping I mean making it very difficult..
Just following the pattern right now. If you need help reading the pattern I suggest youtubing it. that's what I did to figure out the hieroglyphics in them.
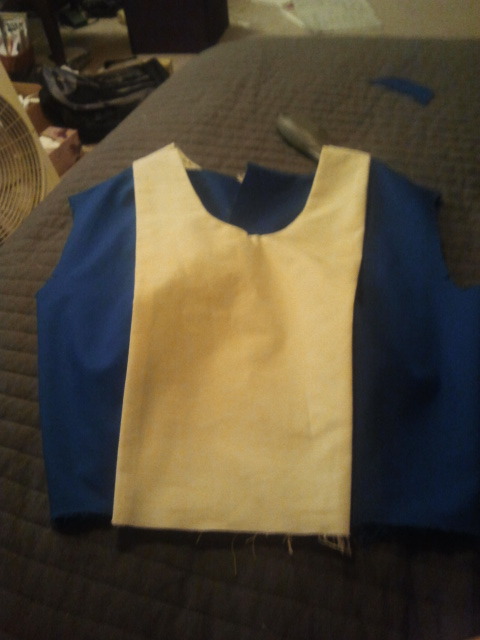
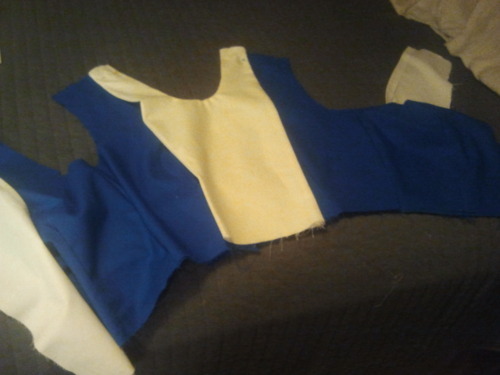
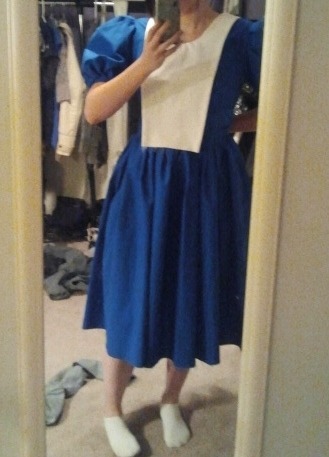
This is where some adjusting came in. As you can see from the picture on the pattern the apron top is square, so I had to make it a swoop neck and bring the apron's shape in on the bottom so it would look more like Alice's. I also had to make a back to match the front since Alice's apron comes down in the back, and the pattern had no back.
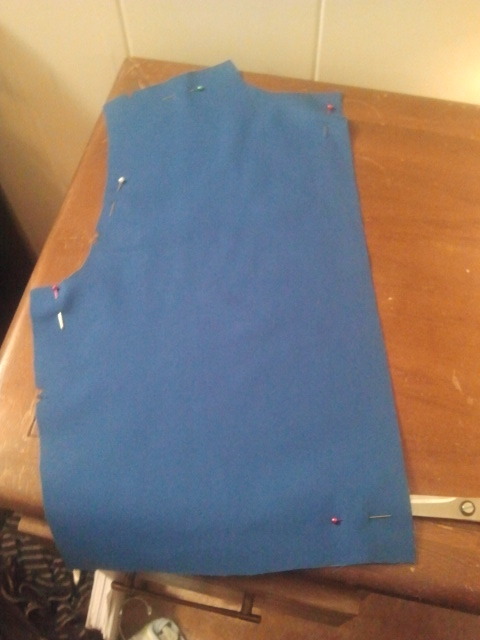
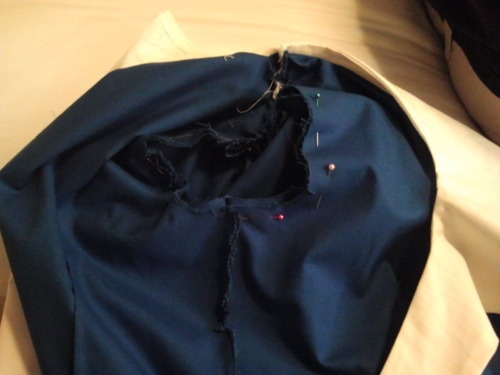
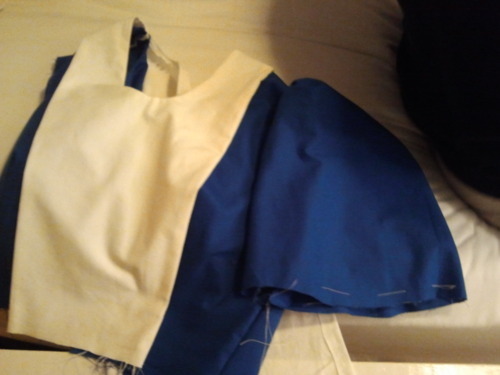
Coming together following the pattern.
The most frustrating part of this cosplay was these damn "poof sleeves" as I call them. It was so hard to get the adjusted so they weren't ridiculously large and they still ended up imo a little too big but i got over it. I hated gathering them UGH..
FINALLY got the sleeve attached to the bodice. I ended up adding the cuff and doing the same on the other side. After I put the first sleeve on I left the dress for a while because it was such a pain for me.
After the sleeves were attached I added the bottom of the dress. There was A LOT of hand basting done to make that happen. The pattern also made the dress way longer then I wanted it so next I had to shorten it. After this point i didn't get as many WIP pics because I was rushing to get it done 2 days before a con (freaking procrastination)..
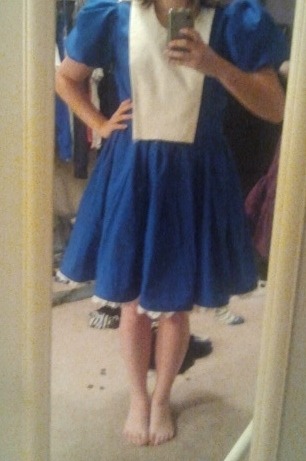
I shortened it and added some white cotton trim. I don't know the official name for the type of trim for it >.> it has little eyelets on it though.
Again missing some pics after this but I basically added the bottom of the apron and the waist band. I improvised at this point because the bow is completley different then the pattern. I made a long waitst bad that tied in the back. I made a square of fabric with some stiff interfacing in it and tied it in the center with the waistband making a big bow! It would have looked really wierd if the skull didn't cover it. There was probably a better way to make this but with my lack of sewing knowledge and being short on time, this was simply going to have to work. The skull was just a table top skull decoration from the Halloween store and I attached a clip to the back of it with hot glue so it could come on and off of the bow easily.

^ Here's an example. This also shows the back where I put in the invisible zipper. It was my first time ever putting in one and my friend who is a professional seamstress told me she even still had problems with them so I was overjoyed to put in mine -_- (sarcasm) but it actually wasn't THAT bad. It definitely didn't turn out perfect but way better than I had though it would.
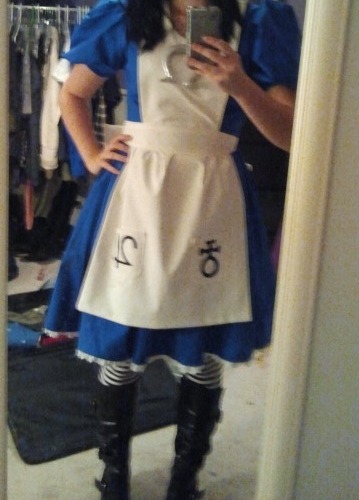
I made my own pattern for the pockets and added the Jupiter and Iris sybols to them using a double sided iron on fabric attacher stuff I found (I have no idea what it was called sorry) I cut the symbols out of black fabric and applied them using that.
When I debut it at Nebkon it wasn't completely done I suppose. I didn't add any blood to it, not because of a time issue but because I had just made my first dress on my own and didn't want to "ruin" it. I did later but I was really hesitant at first. I figured it's easier to Photoshop blood out of a dress then put it on there an make it look consistent. I also decided to scrap my first Omega necklace because I decided it was WAY to large.
Me at Nebkon
So to make Omega Necklace 2.0 I used the exact same method I used for the first one.
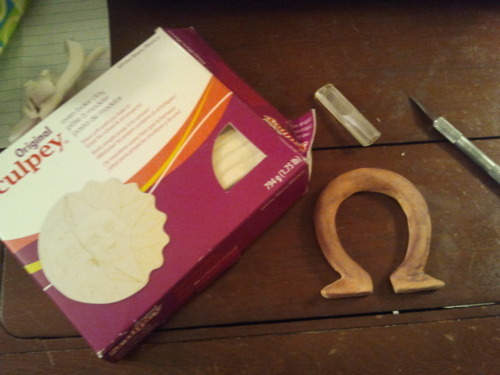
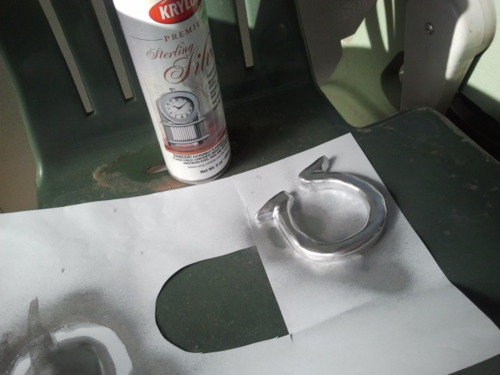
I made it out of sculpty and baked it. Then I was going to paint it with some metallic silver acrylic paint I bought but for some reason it wasn't going on well so I decided to spray paint it with some silver I already had.
After that I cut a piece of wire and made a loop out of it, hot glued the loop to the back of the symbol. Then I used a jewelry loop and attached a chain I made using some jewelry clasps.
For the blood...
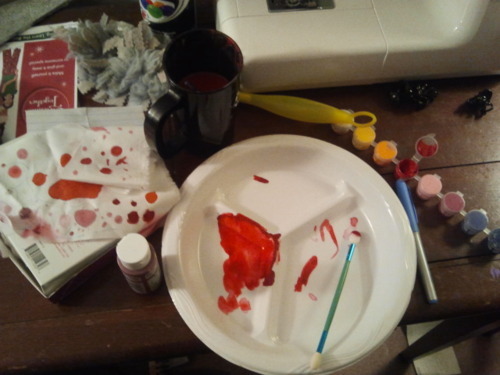
I decided to used acrylic paint. Don't ask me why. I had some spray on special effects blood but it was too red and fake looking and unpredictable when sprayed. So made my own color using acrylic paints and painted it on. I probably won't be able to wash the dress because of that (it's retired anyway) and I realize I should have used fabric paint but I was in a hurry and I like acrylic soo yeah..
I was trying to get as close to the art on the cover of the game as possible.
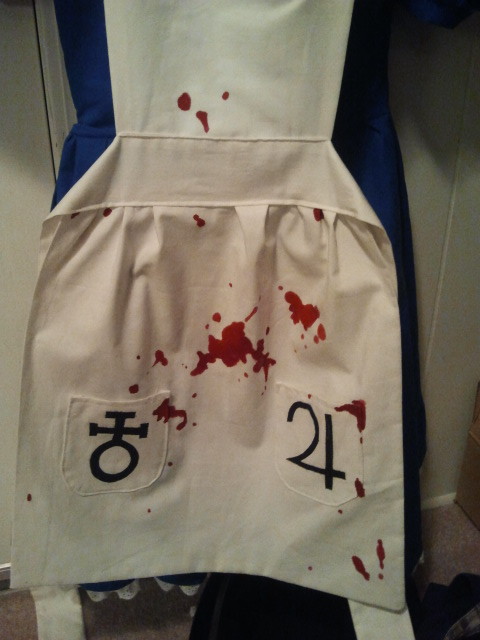
BLOOD!! Yummy.
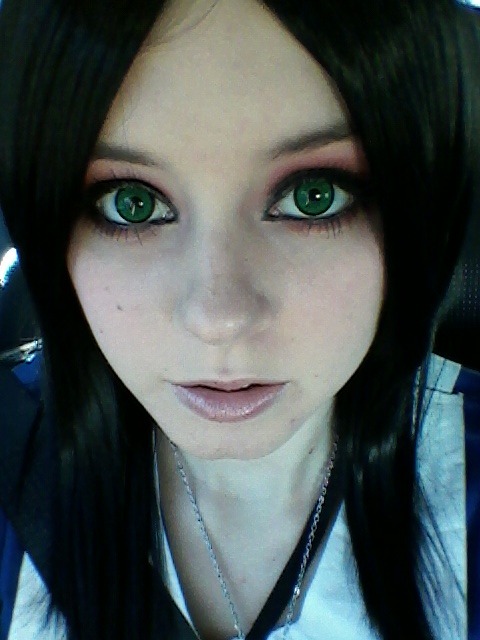
Wig was from Epic Cosplay because Arda didn't have what I needed in stock. And the contacts are Dolly Eye Green bought from PinkyParadise. My friend from Linda Pop Designs did my makeup for me for the con and my photoshoot.
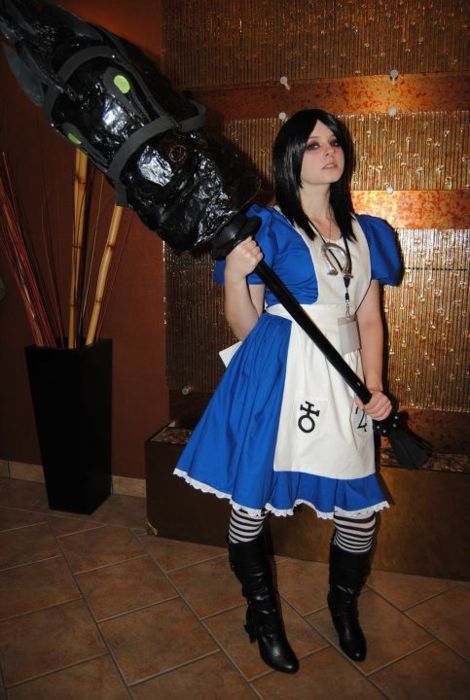
And so the end result is...
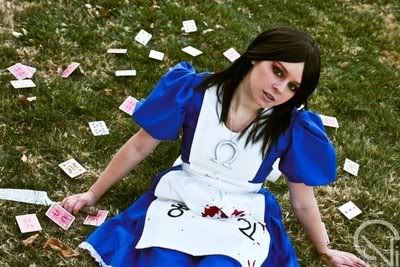
The end result! I made a hobby horse as well which is not shown. You can see the info on how I made it HERE My photo were taken by Max Phillips http://www.modelmayhem.com/1728741 My makeup was done by Linda http://linda-pop.deviantart.com/ If you want to see the rest of the photos from our photo shoot go to my deviantart account http://missqueenkong.deviantart.com/ If you have any questions or if I forgot something feel free to ask and i'll answer best I can. Thanks for stopping by
No comments:
Post a Comment